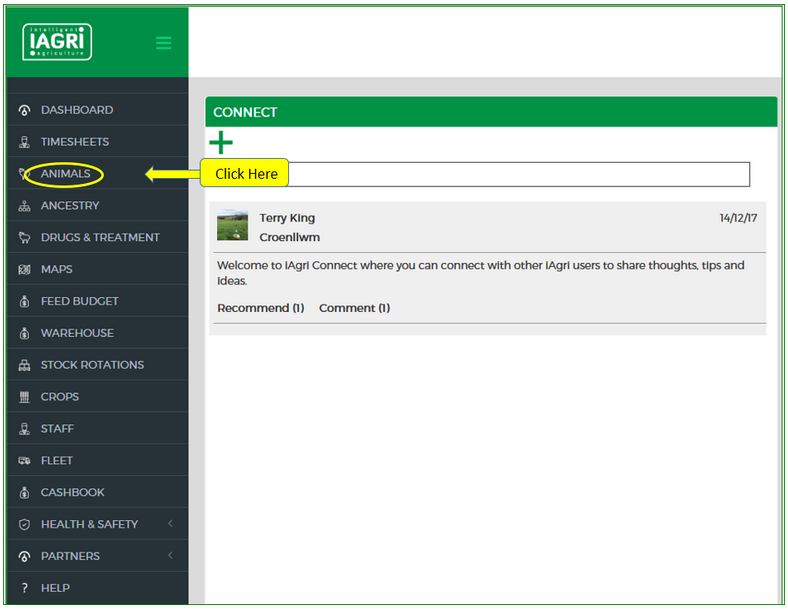
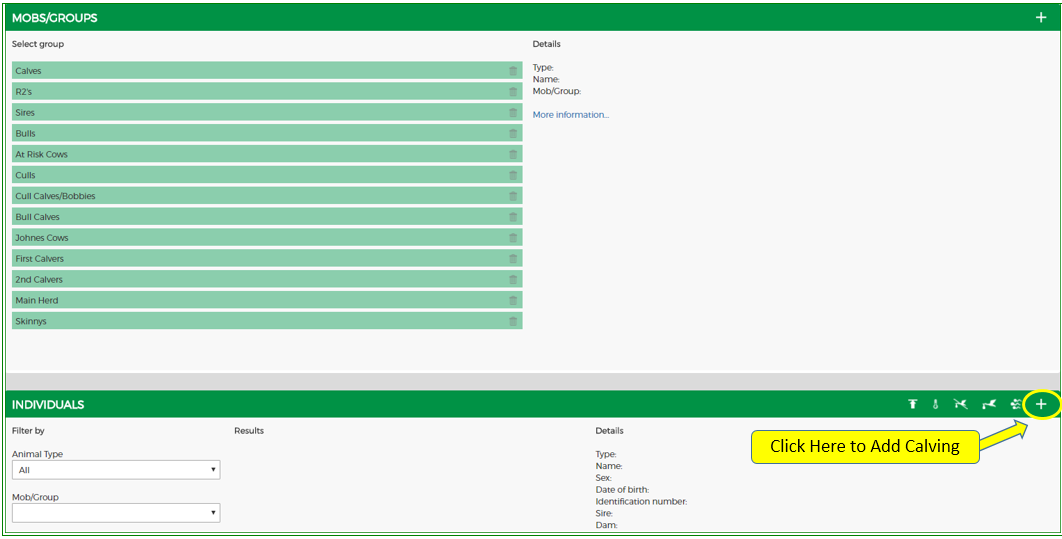
iAgri Support
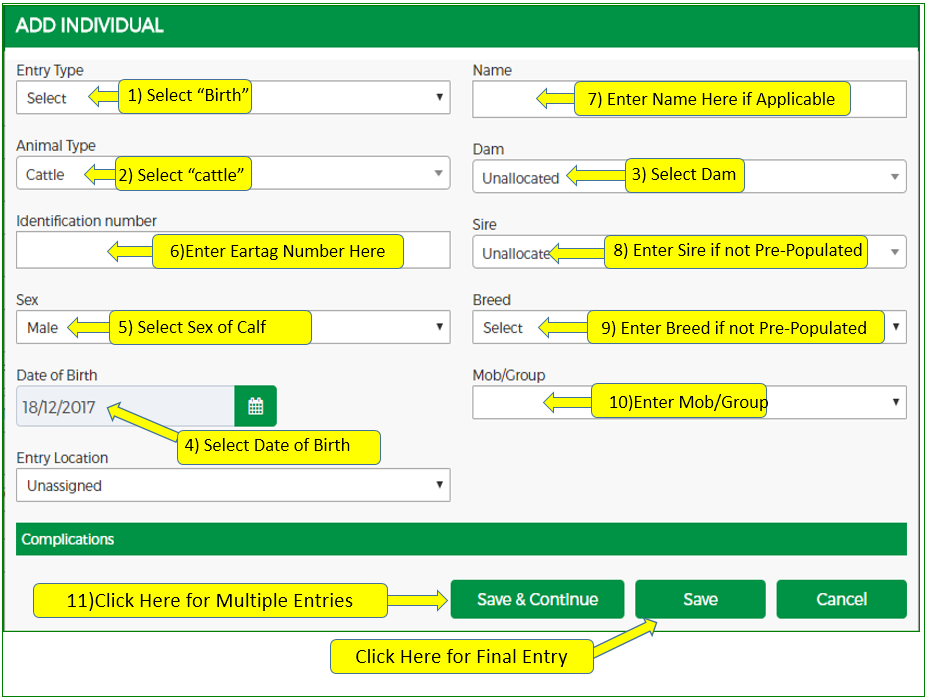
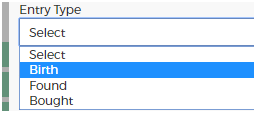
- Select "Birth" from the "Entry Type" options
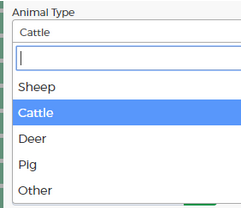
2. Select "Cattle" from the "Animal Type" options
3. Enter the Dam's number
4. Selectthe date, the default date is todays date
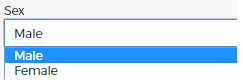
5. Select the sex of the calf
6. Enter the calf's ID Number/Eartag number (If the calf is not to be identified, leave blank.)
7. Enter the calf's name (If the calf is not to be identified, leave blank or enter Cull calf or any other name of your choosing)
For a dead calf enter "Dead calf" in the name box as this will then show in the cows history.
For twin calves, enter "Twins" in the name box as this will then show in the cows history.
8. Enter the name of the Sire if the "Sire" boxis not auto-populated
9. Enter the Breed if the "Breed" is not auto-populated.
10. Enter the Mob/Group you wish the animal to be in.
11. Click on "Save and Continue" to enter the next calving.
"Birth", "Animal Type", "Date of Birth", and"Mob/Group" will remain populated until changed.
This will make it easier and quicker to enterall calves which will be similar, eg, sex, reared, sold, etc. without having to change too much for each entry.